Materials:
Barbies (I found mine used at a yard-sale for 10 DKK/1.5 USD)
Empty can
plaster
steel wire
silicone joint filler
Small stick
Smal hair band (I used the type typically used for horses)
Hot glue and liquid glue
Fabric
Cardboard
Feathers
Gray primer
Granite paint
Tools:
Cutting tool (I used both a miniature saw and a utility knife)
Glue gun
Scissors
The first thing to make is the stand. I decided to use an empty can as the base of this. I punched a hole in the top of the can through which the support for the Barbie doll wound go. On my first try I punched the hole in the centre of the can, which I later learned was a bad idea, so it is a good idea to punch the hole a bit to one side of the centre instead.
To make the empty can heavy enough that it would not topple over when the Barbie doll was attached I filled it with plaster. First I inserted a small stick through the hole, to serve as support for the Barbie doll. Then I added a twisted piece of steel wire inside the can and sealed the hole around the support stick and the steel wire with silicone joint filler, before adding liquid plaster to the can, and letting it set. The steel wire was inserted to ensure that the plaster would not simply be able to fall out of the can once set.


Next step was removing half of the arms of the Barbie doll. I cut through the dolls elbows and the cut a small splinter more of the arms to get the angle I wanted for the arms when glued back on.
Then it was time for Barbie to get her hair done. I put the hair into a bun using a small hair band and cut of the rest of the length of hair. The rest of the hair then got a bath in liquid glue, to keep it in place. Maybe hairspray could also have done the job, but I did not have any around at the time. Finally I added a ring around the head using hot glue, moulding it to look like the headband the weeping angels have in the series.
With her hair done Barbie was ready to be attached to the can. For this I used hot glue, which I found had no problems sticking to the plastic, but I still used plenty to avoid it breaking later in the process.

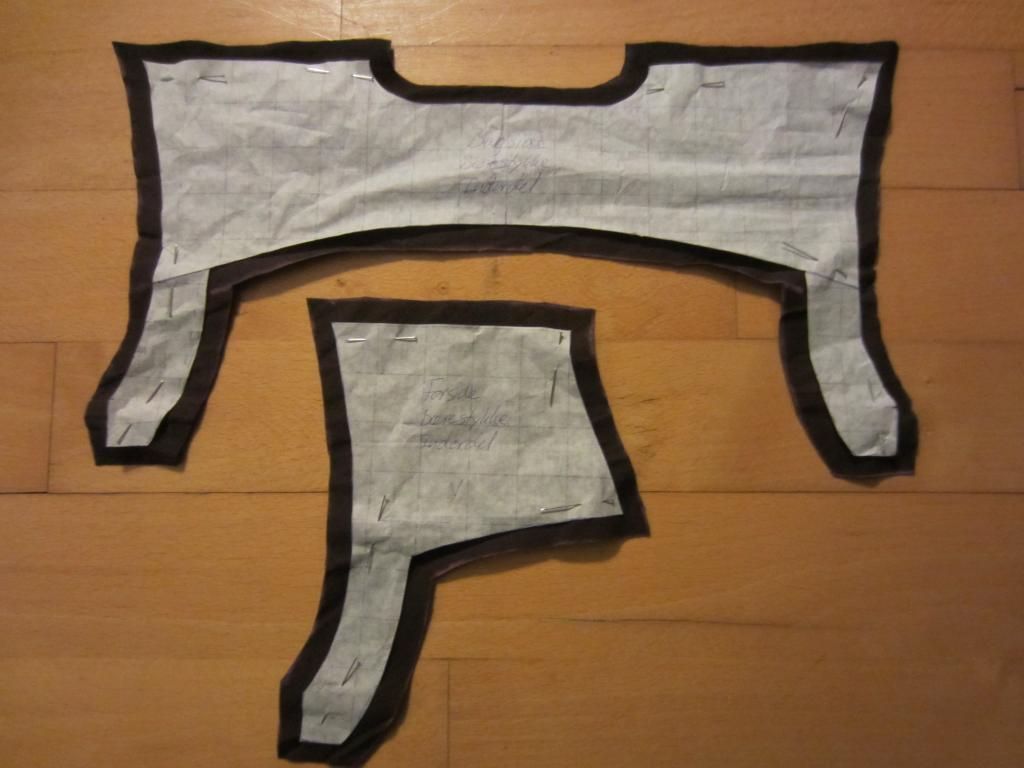
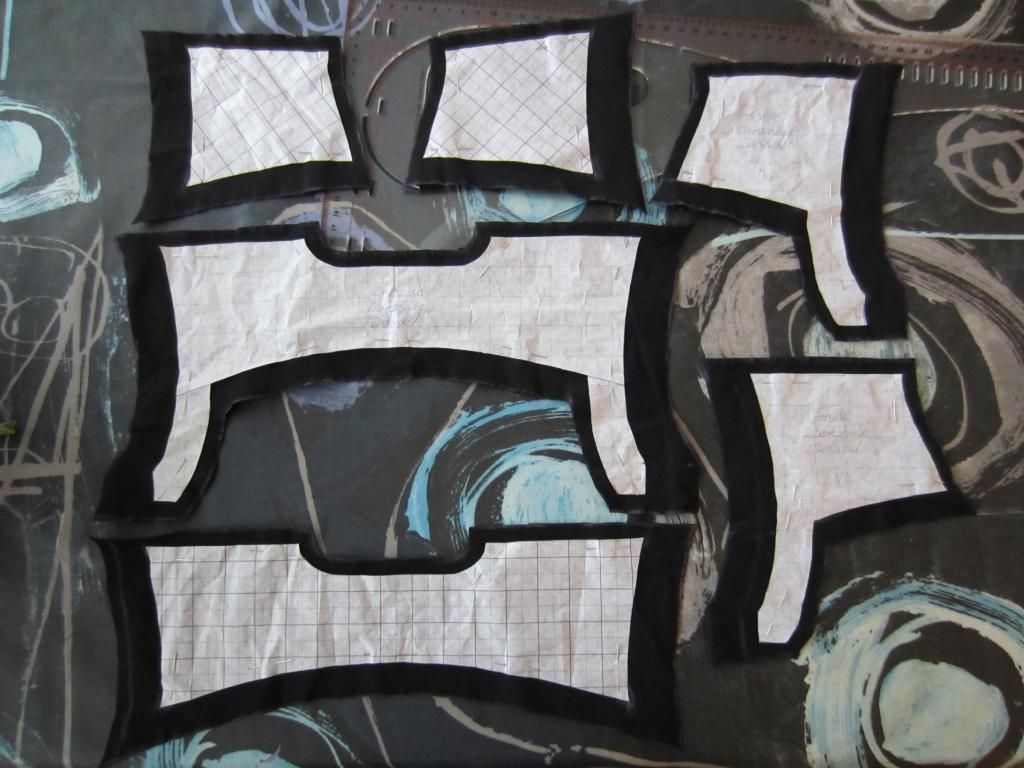
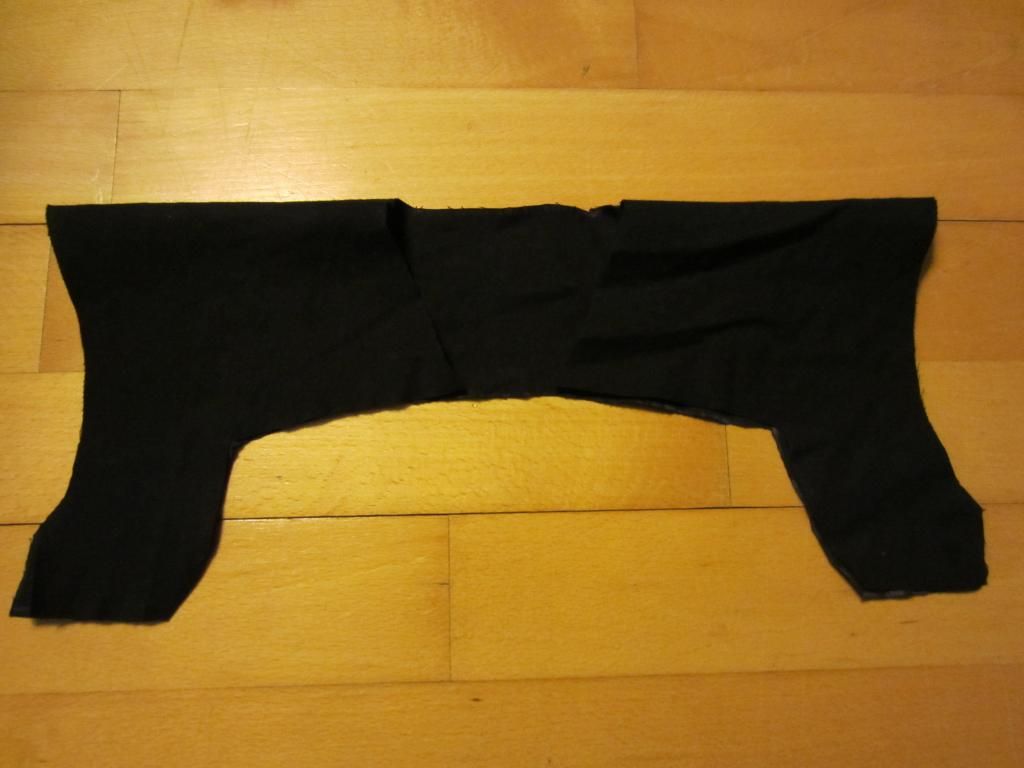
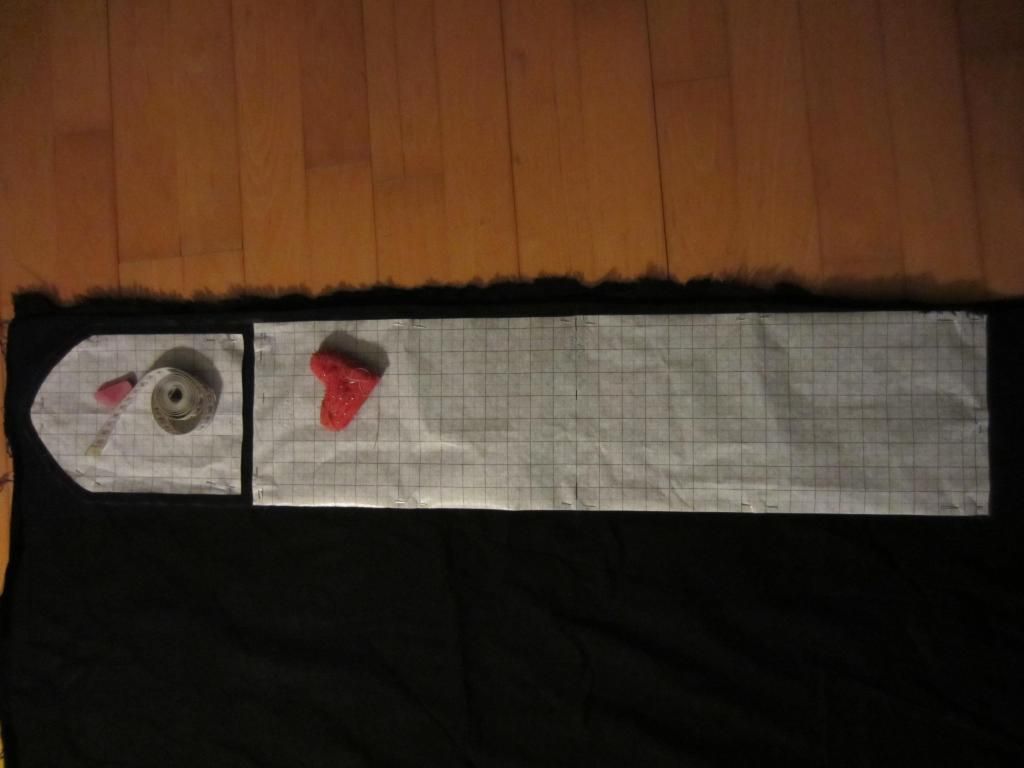
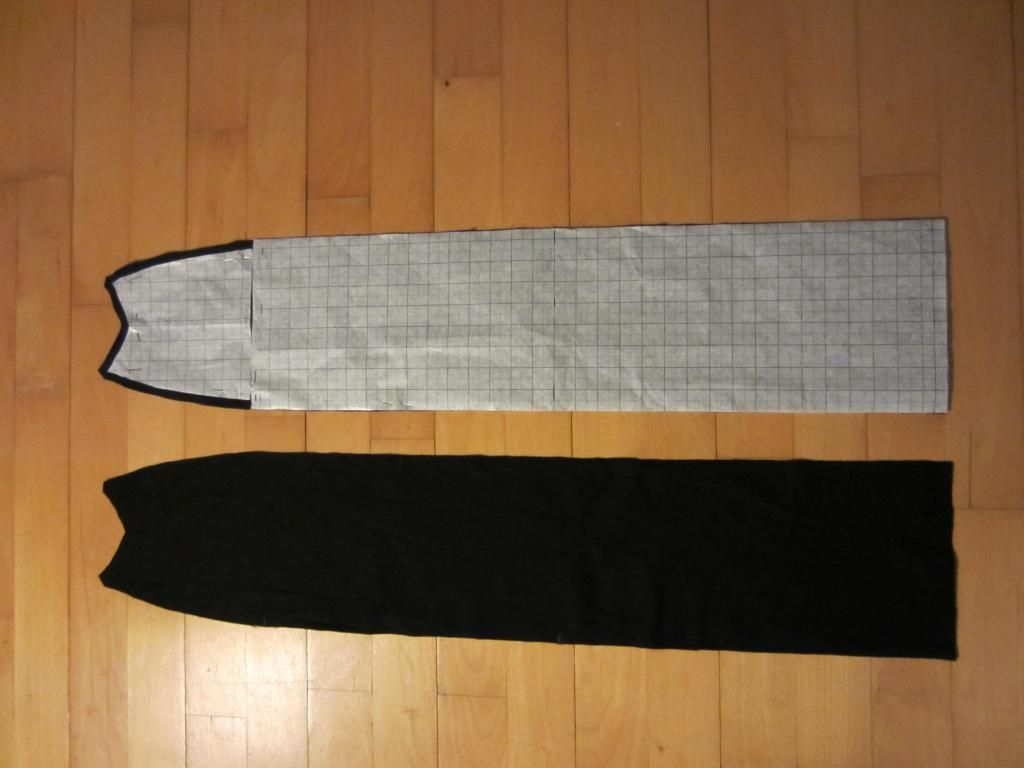
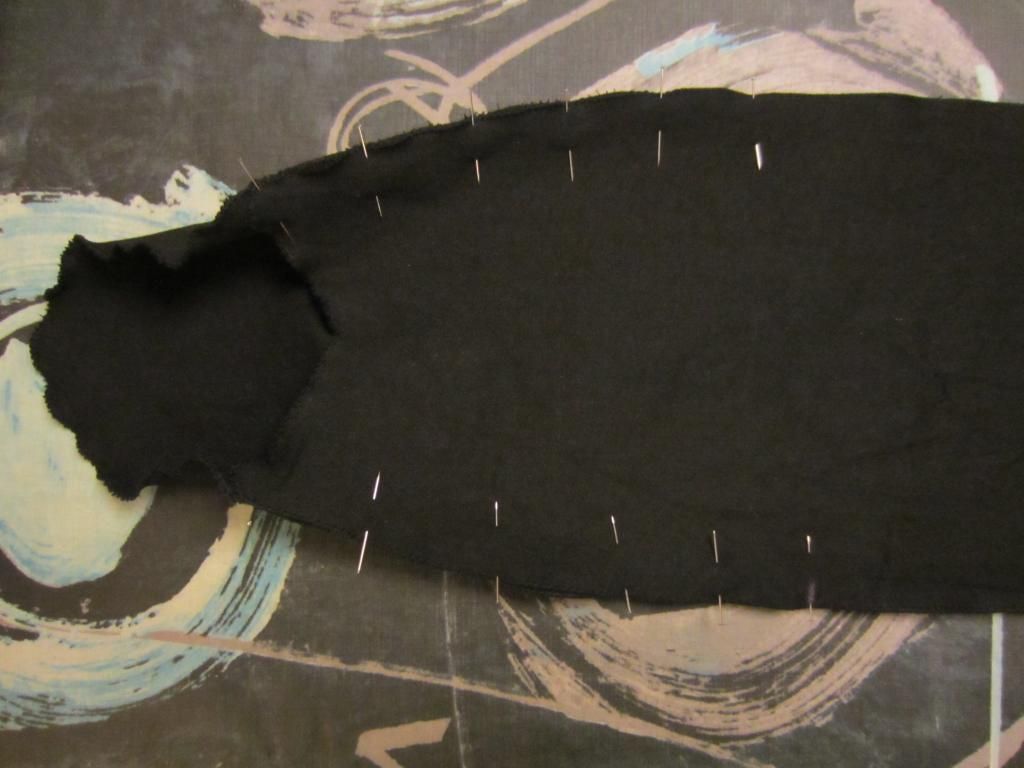
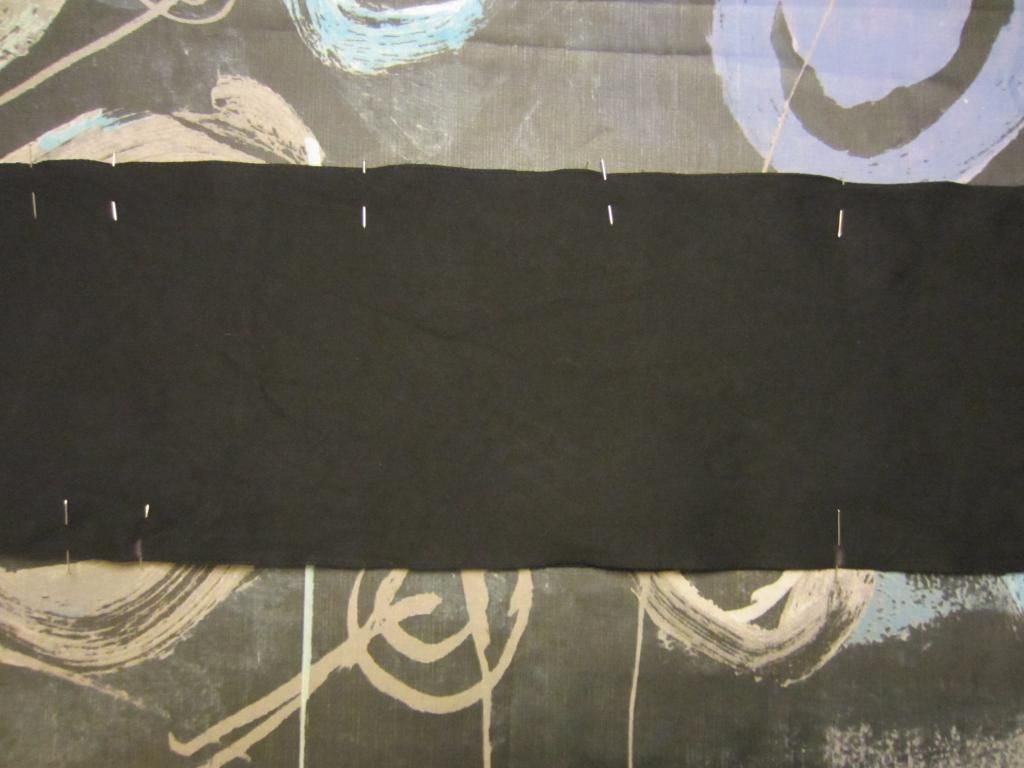
Next up was the dress. This was probably my biggest problem. I never figured out exactly how it was done in the original blogpost I read, so I ended up with my own version.
It cut out a piece of old fabric as shown in the top left picture below, and then glued it on to the Barbie doll in stages. First the shoulder straps and then each of the sides. Finally I cut a small strip of fabric and tied around the waist of the doll as her belt.


After the dress I reattached the arms. I found that sanding the stumps smooth and then scratching them with a knife gave me a surface which were smooth enough for the arms to fit onto the stumps but also rough enough for the glue to have something to hold onto.

Next up painting. I decided to put on the first layer of paint before adding the wings in order to ensure the Barbie's back would be sufficiently covered. The angle in the picture is my first try. She had a piece of red string for a belt, which proved to be very hard to cover with the paint. So the second time around I used a fabric belt instead.
First I covered the Barbie in gray primer. Then I attached the wings and gave the hole thing another layer of primer. Before spraying the angel with a granite mimicking spray paint, to get the right finish. This took a couple of layers before I was satisfied. I learned to be really patient (not something which comes natural to me) before turning the angel to spray the next angle. Also the wings took a few coats to cover. Of course here I could have chosen to use feathers of with a more neutral colour than orange and yellow, but I was to cheap to buy the other colours at double the price at the craft-store. Maybe I would have saved some paint, but done is done.
This is what the finished Weeping Angel look like. I think she turned out pretty well, and she was definitely fun to do. If I had not been distracted by finding my way back to reality after six intensive months of thesis work she probably would not have taken a month to complete. I would think you could probably make one in a day of two. The time consuming steps are the drying, which you cannot really get around.


After I finished her, I gave her as a gift for Lora, and she moved across the country to live in Sonderborg on Lora's bookcase.

Enjoy :)
- trager